How to Wire an Alternator as a Generator
Learn how to wire an automotive alternator for battery charging, including key terminals, safe connections, regulator checks, and testing steps.
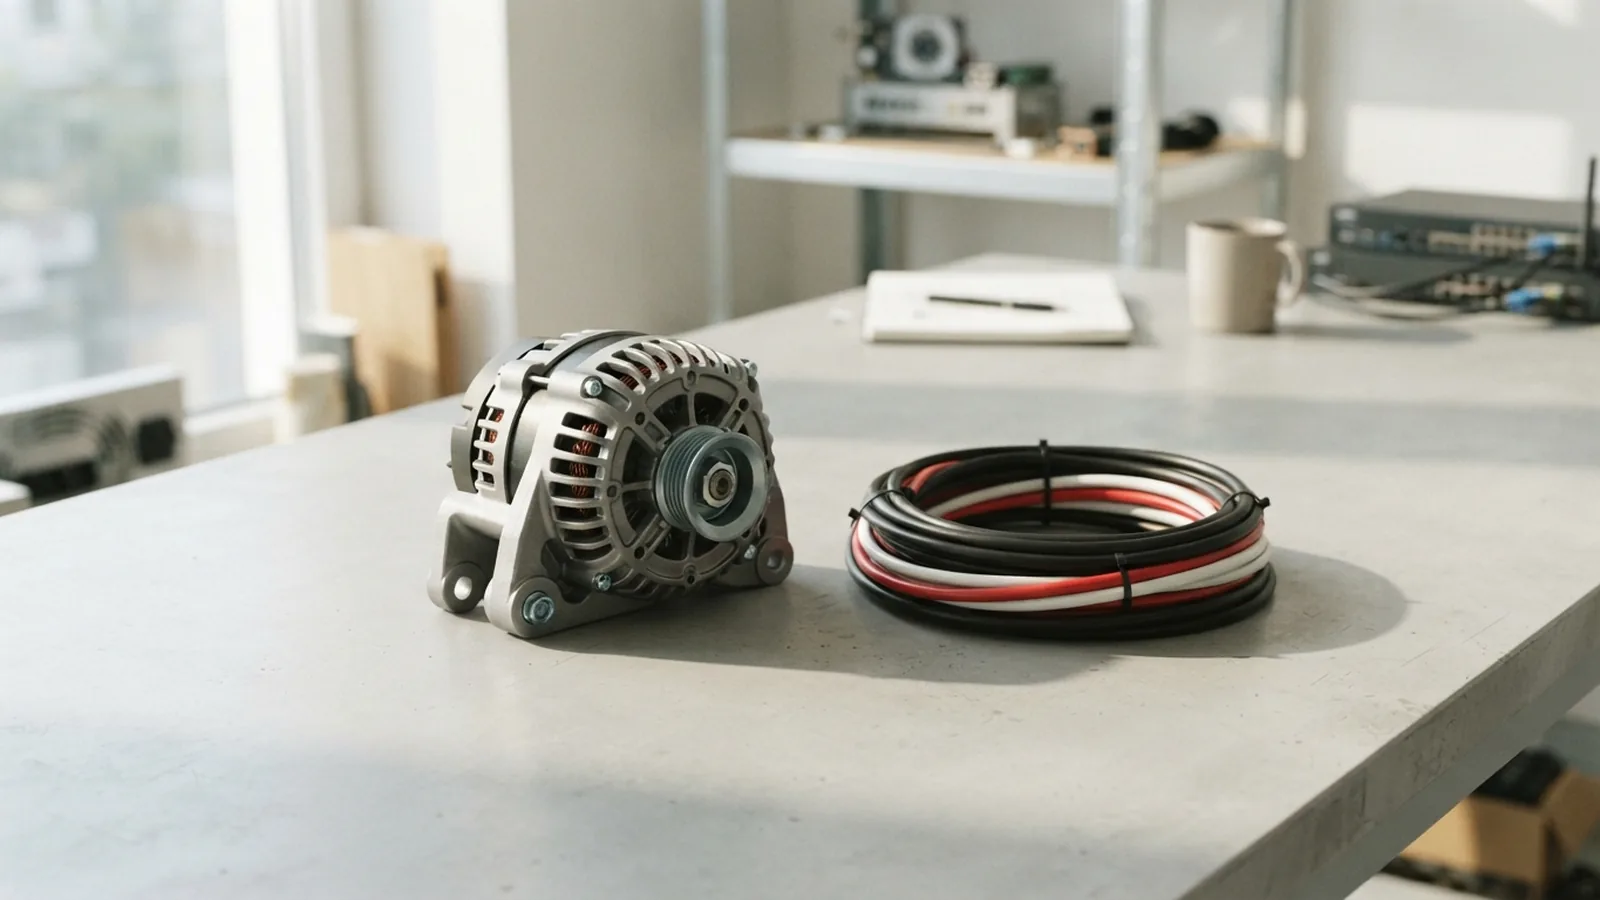
How an Alternator Can Work as a Generator
To use an automotive alternator as a generator, spin it with a suitable drive, ground its case, and connect its output to a battery through proper protection. Then wire the field and regulator terminals as the alternator maker specifies. Most car alternators already make DC at the output because internal diodes change the winding's AC into DC.
The word generator often means any device that makes electrical power. In vehicle terms, an alternator makes AC inside, then rectifies it into DC. Older generators, often called dynamos, make DC directly. An alternator needs a regulator and field current to control its magnetic field and output.
This setup is best for charging a battery or feeding a DC load. It does not provide household AC by itself. A separate inverter is needed for AC loads, and its rating must suit both the load and battery bank. Never connect a home circuit directly to an alternator.
Know the alternator model before you begin. Terminal names and regulator layouts vary. A wiring plan for one unit may damage another. If you cannot identify its terminals, get the model guide before applying power.
Tools, Parts, and Safety Checks
Choose an alternator rated for your battery system, such as a 12-volt unit for a 12-volt battery bank. The drive must turn the alternator within its stated speed range. Use a firm mount and guarded belt or pulley. A loose mount can shift under load, while a bare belt can catch clothing or tools.
Gather insulated hand tools, a digital multimeter, wire sized for the expected current, crimp lugs, heat-shrink tubing, and a fuse or DC breaker. You may also need a belt, pulley, mounting brackets, and a battery charger for initial tests. Use the maker's wire size and fuse guidance when available.
- Disconnect the battery's negative lead before wiring.
- Keep jewelry, loose sleeves, and tools clear of moving parts.
- Cover the alternator output terminal so it cannot touch the frame.
- Work in a dry, ventilated space, away from fuel vapors.
- Wear eye protection, and stop if a cable gets hot or smokes.
A battery can deliver very high fault current. A slipped tool can cause burns, fire, or a burst battery. Put the main fuse close to the battery's positive post. Do not run the engine with loose wiring or exposed rotating parts.
Plan the Alternator Wiring
Start with the wiring diagram for the exact alternator. Find the large output stud, case ground, and small regulator or field terminals. Some units use internal regulators, while others need an external regulator. Some one-wire models excite themselves after reaching a set speed.
The large B+ stud carries charging current to the battery's positive side. The alternator case connects to battery negative through a low-resistance ground path. Small terminals may control ignition power, field current, or a warning lamp. Their labels are not universal.
| Connection | Common role | Typical route |
|---|---|---|
| B+ or output | DC charging current | Through a rated fuse to battery positive |
| Case or ground | Return path | Clean metal ground to battery negative |
| IG or field feed | Switched regulator power | Fused switch feed, if the model calls for it |
| L or lamp | Warning lamp or regulator signal | Wire as shown in the maker diagram |
Use this table as a guide, not as a substitute for the maker's diagram. Do not guess from wire color. A miswired field lead can prevent charging or damage the regulator. Keep the output cable short, well supported, and sized for the alternator's rated current.

Wire the Alternator Step by Step
First, secure the alternator to a rigid frame and align the pulleys. Fit the belt to the maker's tension range. Turn the pulley by hand with the battery disconnected. It should move freely, with no rubbing or loose bracket.
- Set up the ground. Clean paint from the ground point. Connect the alternator case to battery negative with a sturdy cable. A poor ground can cause low output and hot wires.
- Fit the output cable. Connect B+ to a fuse or breaker rated for the cable and system. Route the protected cable to battery positive. Keep the fuse near the battery end.
- Wire the small terminals. Follow the model diagram for IG, F, S, or L terminals. If it needs switched ignition power, use a fused switch lead. Add a charge lamp only when the diagram calls for one.
- Check polarity and security. Confirm positive and negative paths with the diagram. Tighten each lug to the maker's torque value. Cover exposed studs and check that wires cannot touch the belt.
- Reconnect the battery. Attach the negative lead last. Keep the engine or drive off while you check for sparks, loose leads, or an unexpected current draw.
Do not add an external regulator to an internally regulated alternator unless its maker permits that setup. Also, do not assume every 12-volt alternator uses the same field circuit. Follow the terminal map for your unit.
For a standalone build, choose a drive that keeps the alternator within its speed limits. The alternator pulley usually needs to turn faster than the engine or motor pulley. Check the maker's minimum speed for charging and maximum safe speed before selecting pulley sizes.

Test Voltage and Charging
Inspect the belt, mounts, fuse, ground, and cable paths before starting the drive. Keep hands and meter leads away from moving parts. Set the meter to DC volts and check the battery before the test. A charged 12-volt lead-acid battery often reads near 12.6 volts at rest.
Start the drive at low speed, if the setup allows it. Measure across the battery posts, not the cable lugs. Raise speed slowly while watching voltage and listening for belt slip. Many 12-volt charging systems run near 13.8 to 14.7 volts, but the correct range depends on the regulator and battery type.
- If voltage stays near the battery's resting level, the alternator may not be excited or driven fast enough.
- If voltage rises above the maker's limit, stop the test and check the regulator.
- If voltage falls under load, check belt grip, cable size, ground quality, and load current.
- If the fuse opens, find the fault before fitting another fuse.
Test with a modest DC load first, such as a suitable lamp or load tester. Then check voltage again at the battery. Do not exceed the alternator's rated current for long periods. Some automotive units need airflow to keep cool during steady output.
Never disconnect the battery while the alternator is running. The battery helps steady system voltage. Removing it can create a voltage spike that harms the regulator and connected equipment.

Common Faults and Safe Fixes
No charge often points to a missing field feed, wrong terminal wiring, low drive speed, or a weak ground. Check the model diagram first. Then test the ground path and confirm the output cable reaches battery positive through an intact fuse.
High voltage points to a bad regulator, poor regulator ground, or a mismatched regulator and battery system. Stop the drive before changing wires. A battery that boils, heats up, or smells unusual needs immediate attention. Move away and seek safe help if it vents or leaks.
Heat at a cable lug usually signals a loose joint, undersized wire, or corroded connection. Switch off, disconnect the battery, and let parts cool. Replace damaged parts and remake the connection with the right lug and crimp tool. Never tighten a live output stud.
Unstable voltage can come from belt slip, a worn alternator, or a load that exceeds its rating. Check pulley alignment and belt tension with the drive stopped. If the readings still vary, have the alternator and regulator tested on a suitable bench.
Finish with a Controlled Charging Setup
Converting an alternator into a generator is mainly a matter of safe mounting, correct field wiring, and a sound battery connection. The alternator's output stud feeds the battery through a fuse, while its case needs a reliable ground. Small terminals must match the specific wiring diagram.
Take time to confirm regulator settings and battery needs before regular use. Start with a short, low-load test and watch voltage, cable temperature, and belt behavior. Stop at once if anything smells hot, sparks, or moves out of place.
For long-term power generation, use parts rated for continuous duty and guard the drive. An automotive alternator may need cooling and enough shaft speed to hold output. If the system will power essential equipment, have an experienced electrical technician review the build before use.
Frequently asked questions
- Can an automotive alternator work as a generator?
- Yes. It can charge a battery or feed a DC load when driven within its rated speed range. It needs the correct regulator wiring and a safe mount.
- How do I connect an alternator to a battery?
- Connect the alternator's B+ output to battery positive through a suitable fuse near the battery. Connect the case to battery negative with a sound ground cable.
- What do the small alternator wires do?
- Small terminals can provide regulator power, field current, a voltage sense signal, or a warning lamp circuit. Their roles differ by model, so use the maker's diagram.
- What voltage should a 12-volt alternator produce?
- Many 12-volt systems charge near 13.8 to 14.7 volts. Check the alternator maker's limits and the battery type before judging the reading.
- Can I run an alternator without a battery?
- Do not disconnect or remove the battery while the alternator runs. The battery helps steady voltage, and removing it can cause a damaging voltage spike.
Related reading

What Is a POST API, and How Does It Work?
See how POST APIs send data, create records, and return results.

How Can You Improve Your Website Conversion Rate?
Turn more visits into sales with focused tests, clearer pages, and faster site speed.

What Is a Conversion in Marketing, and Why Does It Matter?
See what counts as a marketing conversion and how to measure and improve it.